If you’re an InDesign user who is looking for a quick and easy way to create a PDF, you’re in luck. Adobe has made the process easy with the help of a helpful tool called “PDF Presets.”
This tool enables you to set the most effective and useful settings for creating and viewing your PDF file. It includes options for text, media, and even interactive content. However, before you jump in, you should think carefully about what you want to do with your new file. For example, are you going to edit it, send it off to a print provider, or email it?
To save an InDesign document as a PDF, you’ll need to choose the right type of format from the Save as type/Format drop-down menu. The most common format to use is the High Quality Print. When you click OK, you’ll be taken to the Package dialog box. You can now name your file and choose the location to save it in. Once you’ve done that, you’ll be ready to export.

Another option is to create a PDF that is split into pages, which can be much more manageable. But, before you do, you’ll need to make sure you have access to the original images that are used in your InDesign document.
There are a few other things you can do with your PDF file. Specifically, you can use the Find Fonts command to locate and highlight the fonts used in your document. Also, you can check the Security tab for a password that restricts editing of the file.
Using the PDF’s “Fit Page” option can also be a useful trick. This setting ensures that your PDF fits the page size on your screen. Generally speaking, you’ll need a resolution of 72 ppi (pixels per inch) to get a sharp image. Depending on the quality of the image, it may be worth taking the time to set a higher resolution.
Another trick is to add a printer’s mark to your document. This will prevent people who don’t have your software from opening the file. Similarly, you should consider whether you’ll need to import any other fonts into the file. Typically, a professional print house will handle this for you.

Finally, you’ll need to add some security features. One of the most important is the ability to create and use a password. The other is the Preflight wizard, which can be useful for checking out your work. By checking out the wizard, you’ll find out if there are any formatting mistakes that need to be corrected before you hit print. Alternatively, you can set a spellcheck to identify and correct the obvious blunders.
Lastly, there are some nifty tools that you can use to make your document more visually appealing. For instance, you can adjust the color of the text, resize the font, or add a few printer’s marks. While you’re at it, be sure to include a few spot colors in your document, as well.
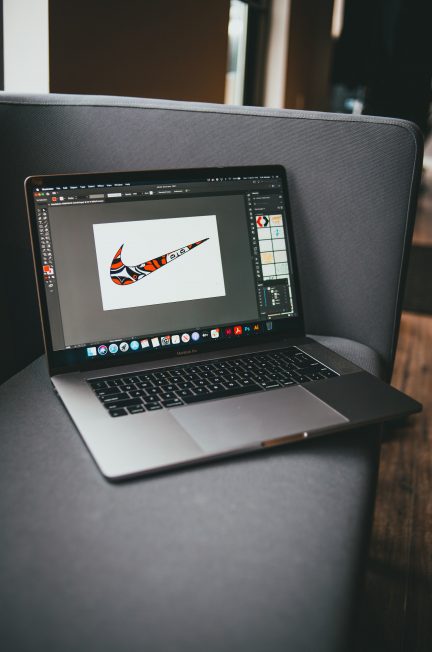
Photo by Mika Baumeister on Unsplash